VBAから
・LINEへメッセージを送信
できます!
この記事では
・「グループ」へメッセージを送信する方法
を記載します。
VBAコード自体は
非常にシンプルです!
ただ「準備」が少し面倒かもです…。
※少しだけです。
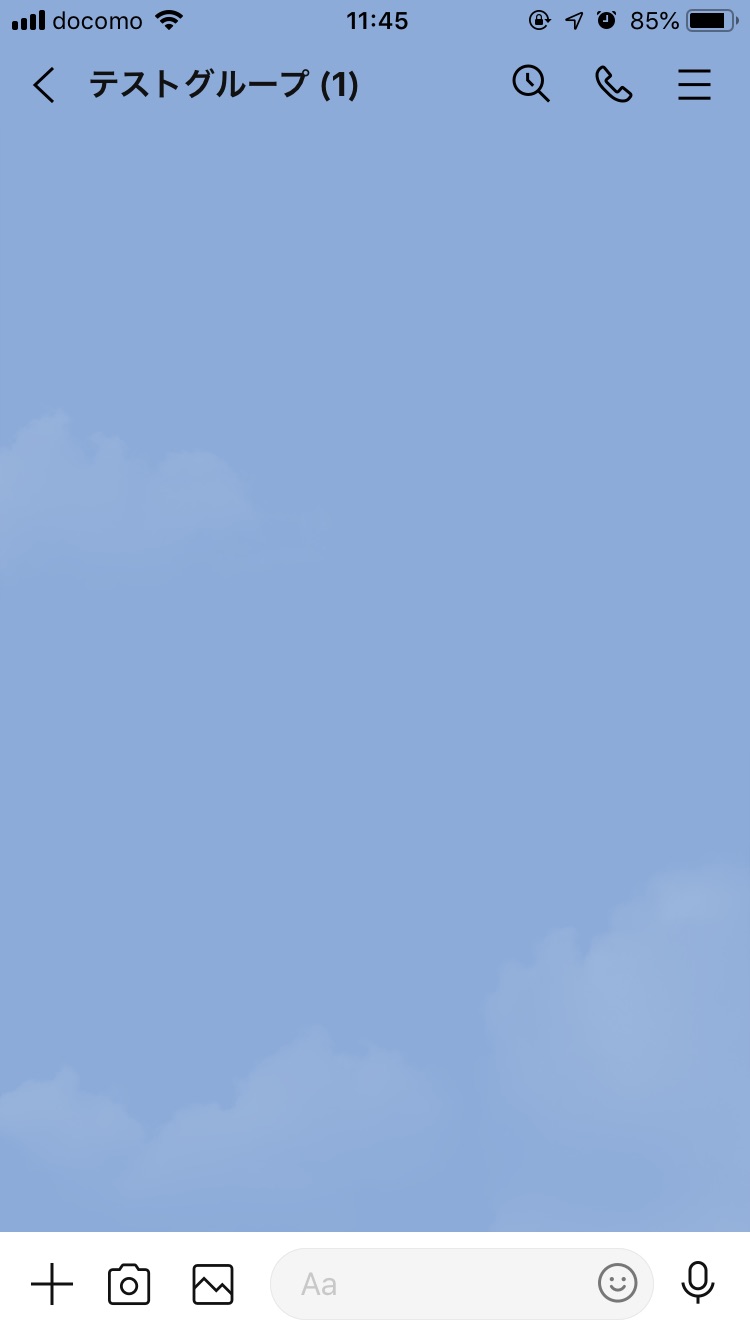
準備①(LINEのグループを作成)
ここでは
・メッセージ送信先となるグループとして「テストグループ」を新規作成
します。
※グループの作成方法は割愛します。
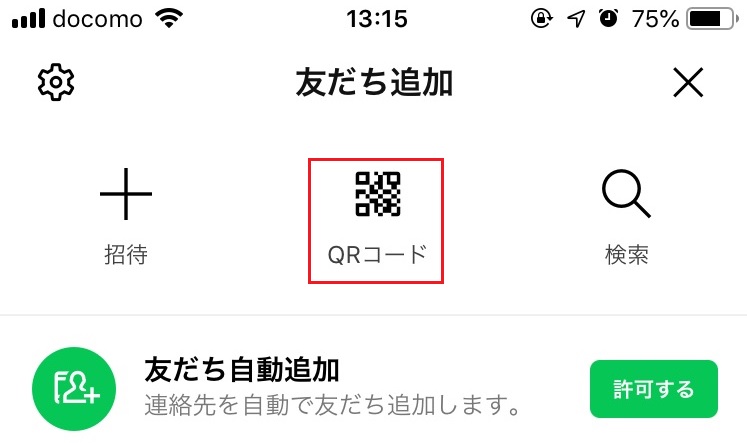
準備②(LINE Notifyを友だち追加)
以下のURLへアクセスし、QRコードを利用して「LINE Notify」を友だちに追加します。

「友だち追加画面」の「QRコード」をタップすると、QRコード読み取り画面を表示できます。
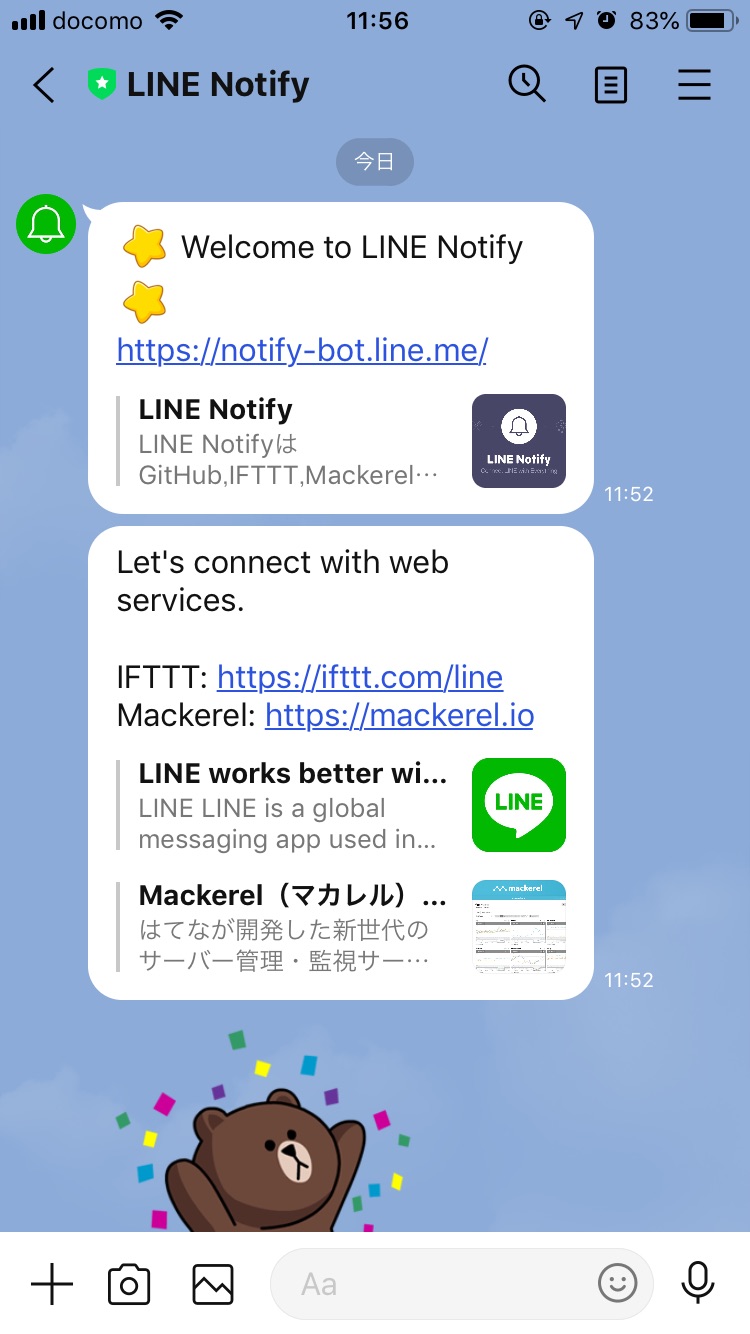
追加すると「LINE Notify」から以下のメッセージが届きます。
※メッセージが届いたら無事に追加できたということです。
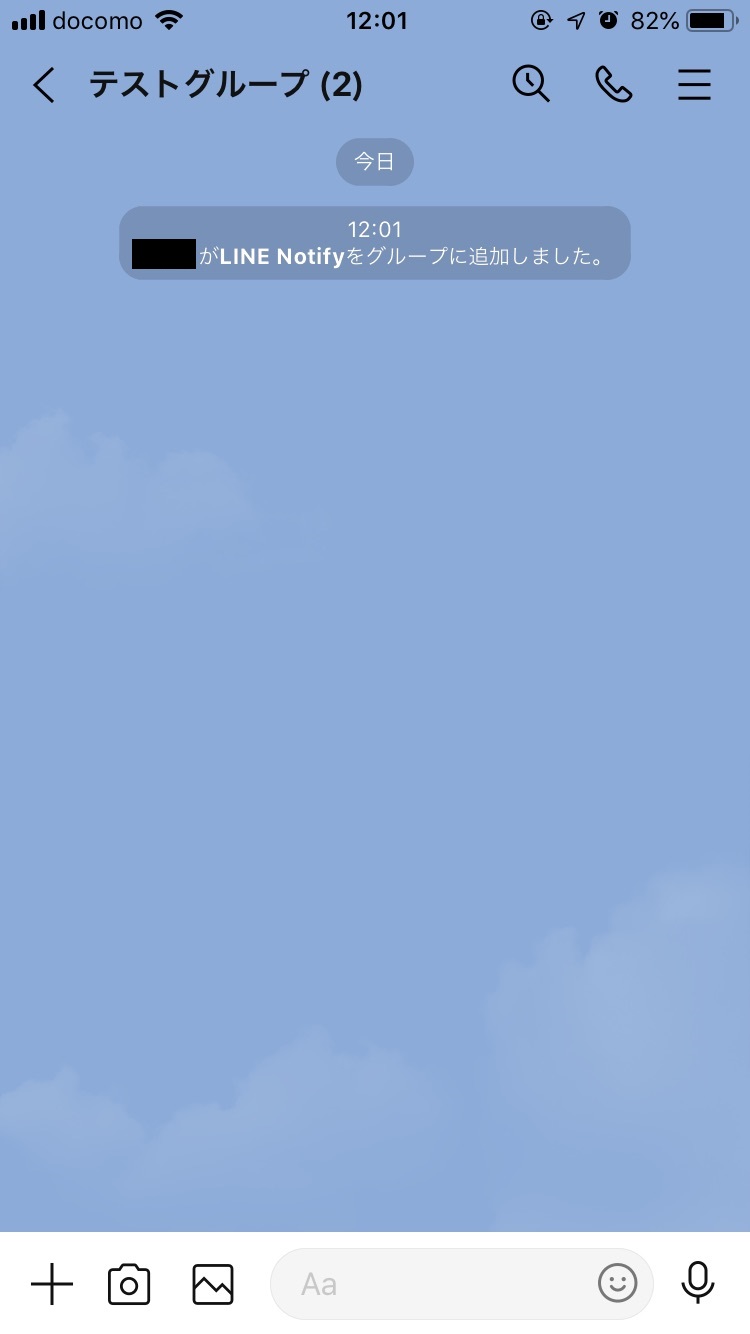
準備③(グループへLINE Notifyを追加)
メッセージ送信先となるグループに
・上記で友だちに追加した「LINE Notify」を追加
します。
※ここでは上記で作成したグループ「テストグループ」に追加します。
※追加方法は割愛します。
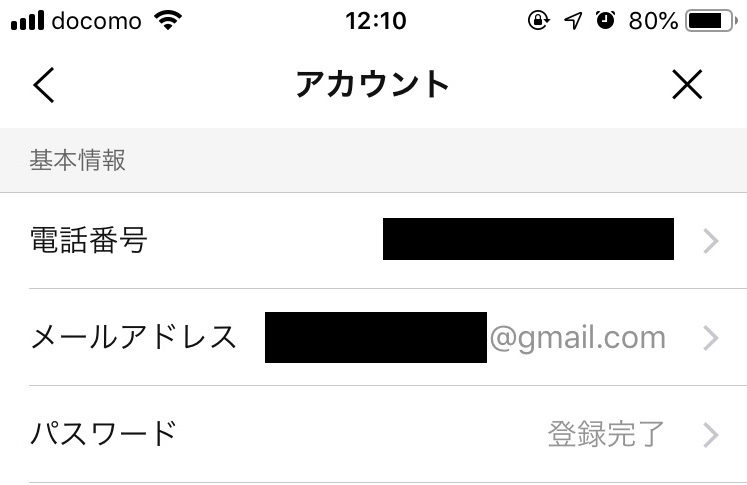
準備④(LINEにメアドとパスワードを設定)
公式サイト「LINE Notify」にログインできるようにするために、LINEに
・メールアドレス
・パスワード
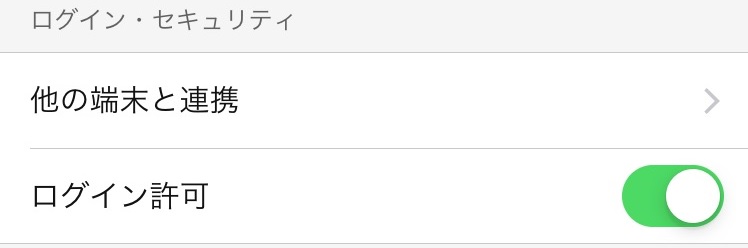
・ログインを「許可」
を設定します。
※設定方法は割愛します。
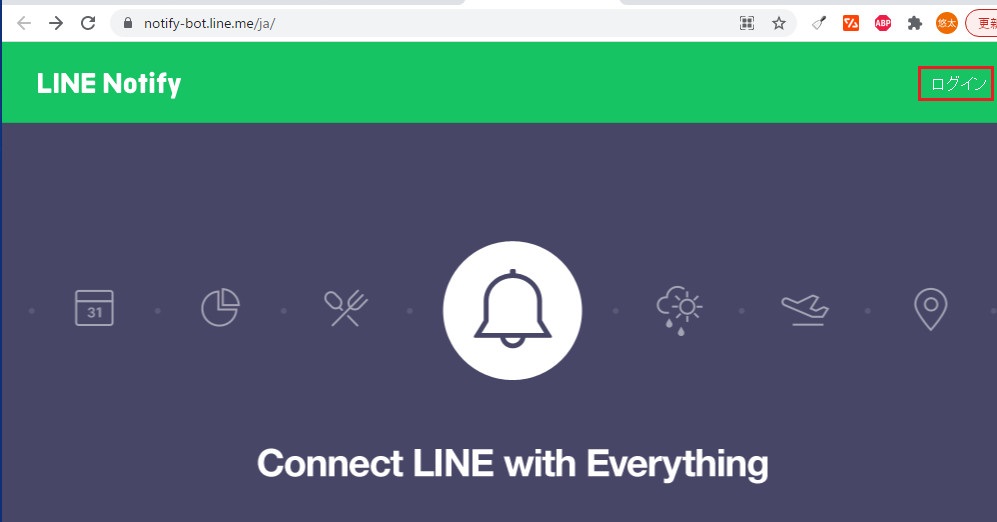
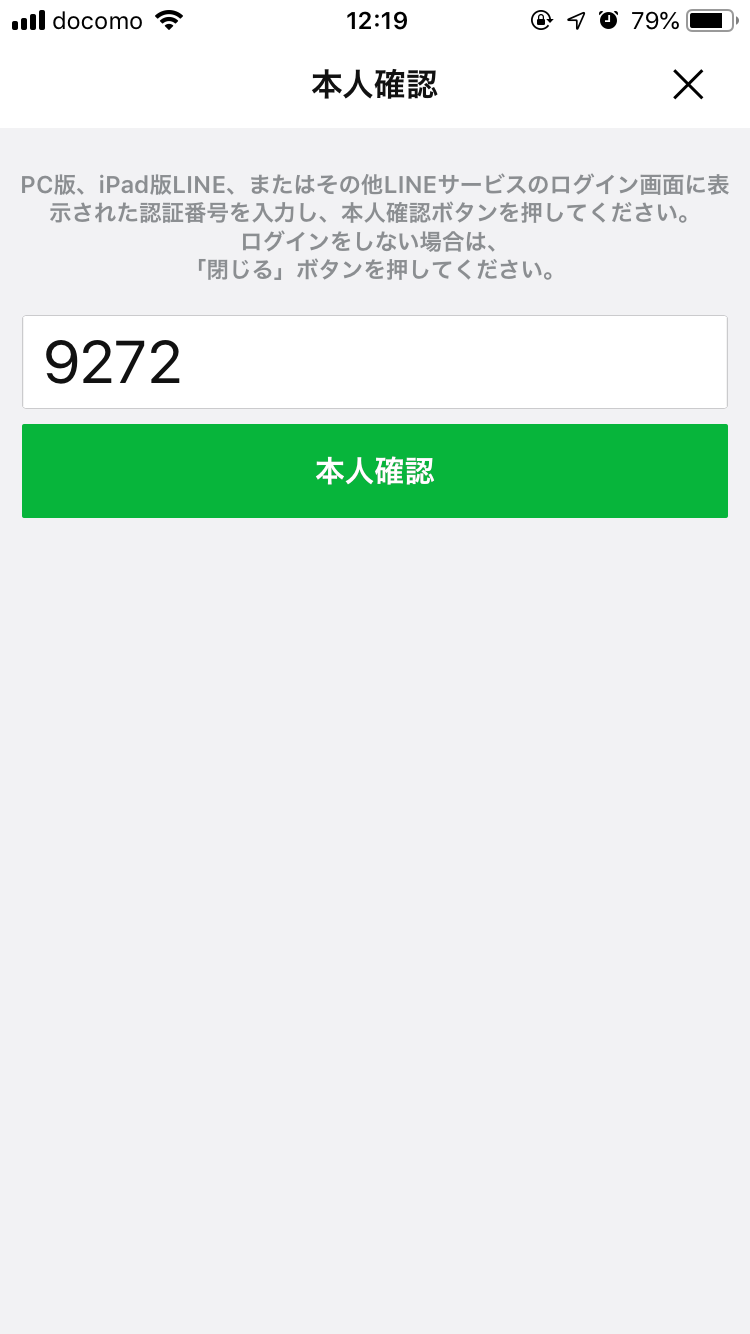
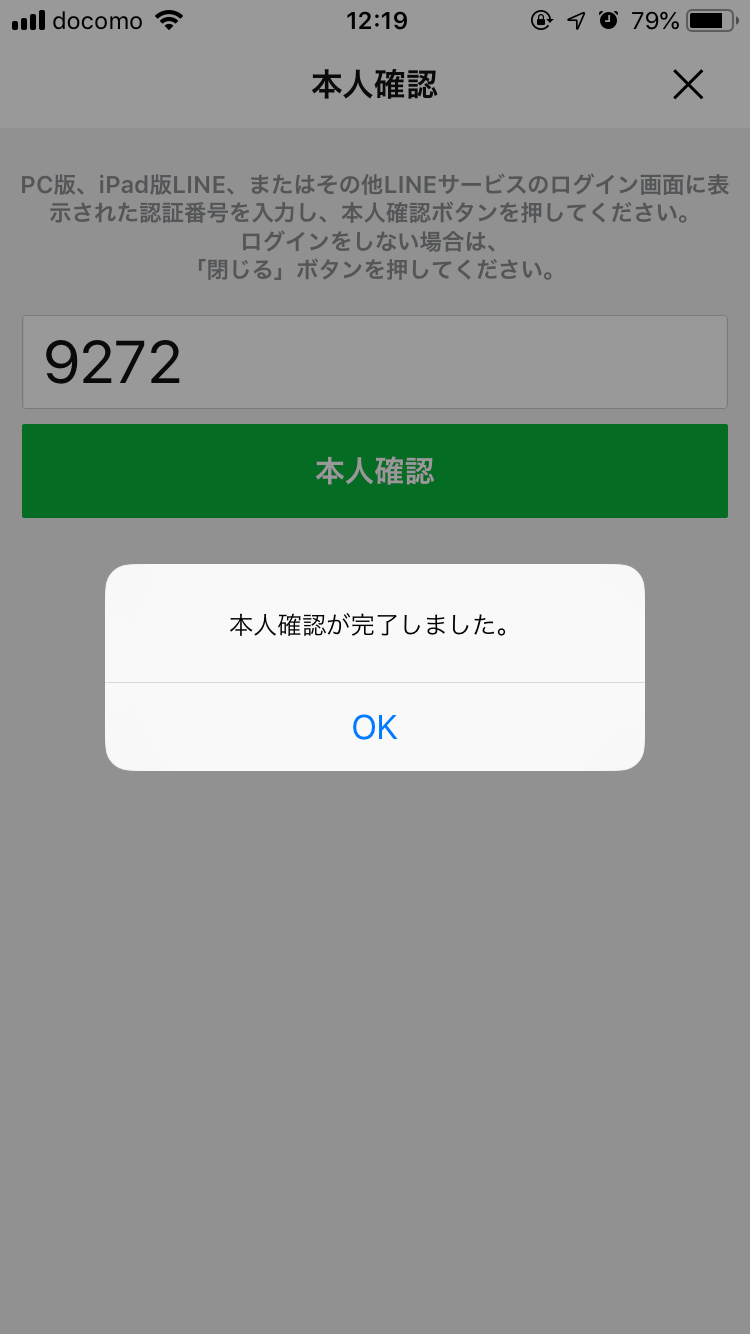
準備⑤(公式サイト「LINE Notify」へログイン)
公式サイト「LINE Notify」へログインします。
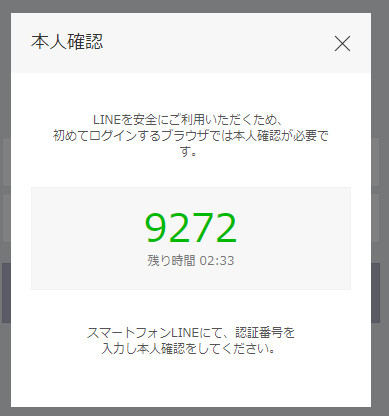
初めてのログインの場合は、本人確認を求められます。
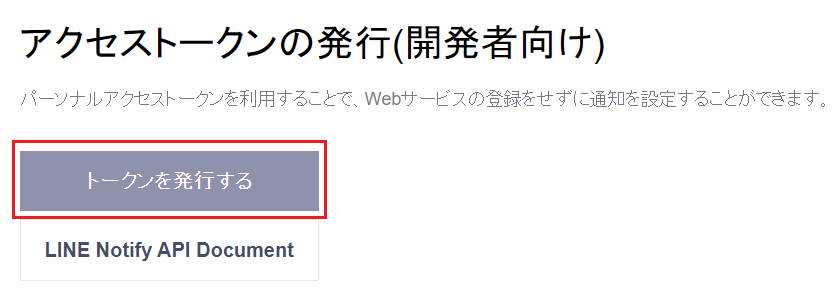
準備⑥(トークンを発行)
「トークン」を発行します。
「トークン」はVBAコードで使用します。
「マイページ」にある「トークンを発行する」をクリックします。
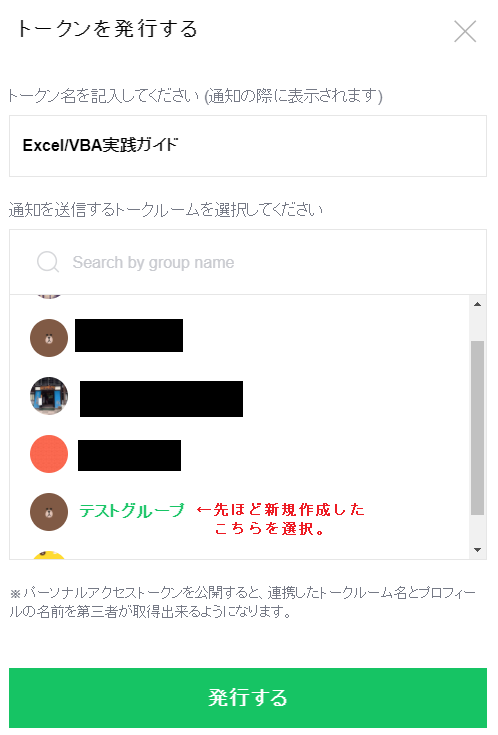
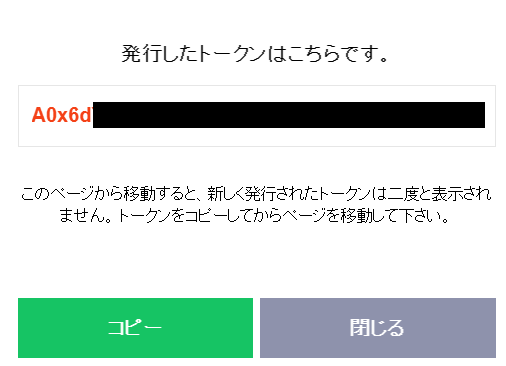
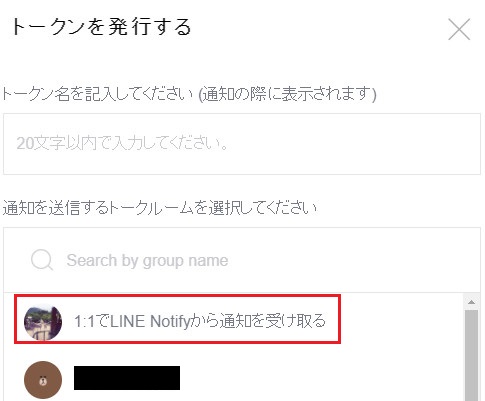
表示されたページで
・任意で「トークン名」を設定 ※ここでは「Excel/VBA実践ガイド」と設定します。
・メッセージ送信先となるグループを選択
・「発行する」をクリック
します。
「グループ」ではなく「自分」へメッセージを送信する場合は
・「1:1でLINE Notifyから通知を受け取る」
を選択します。
VBAコード
ここでは例として
・上記で発行した「トークン」を使用して
・LINEへメッセージを送信
します。
Option Explicit
Sub sample()
Dim token As String
Dim url As String
Dim messege As String
Dim httpReq As Object
'発行したトークンを設定
token = "XXXXXXXXXXXXXXXXXXXXXXXXXXXXXXXXXXX"
'「LINE Notify」のURLを設定
url = "https://notify-api.line.me/api/notify"
'LINEへ送信するメッセージを設定
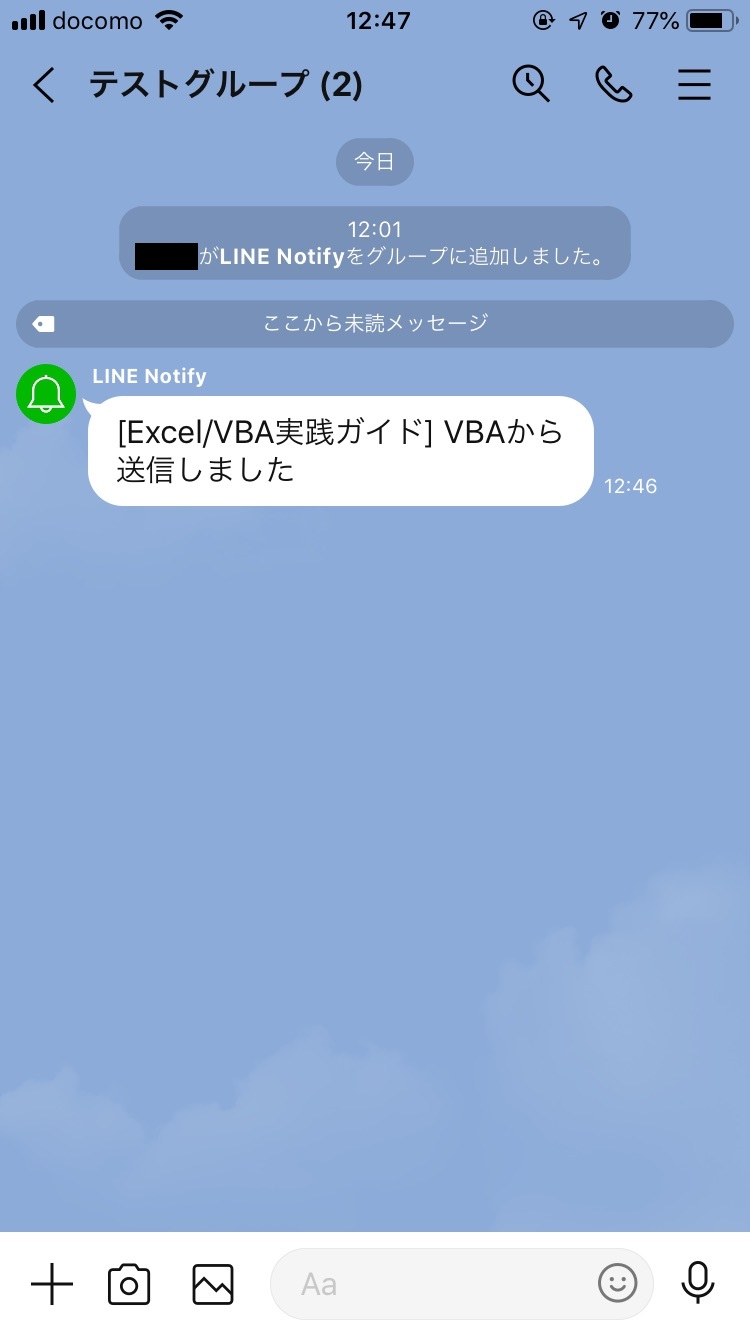
messege = "VBAから送信しました"
'「WinHttpRequestオブジェクト」を取得
Set httpReq = CreateObject("WinHttp.WinHttpRequest.5.1")
'HTTPリクエストを送信
httpReq.Open "POST", url, False
httpReq.setRequestHeader "Authorization", "Bearer " & token
httpReq.setRequestHeader "Content-Type", "application/x-www-form-urlencoded"
httpReq.send "message=" & messege
'後片づけ
Set httpReq = Nothing
End Sub
実行結果
LINEへメッセージを送信できました。
※グループへ追加した「LINE Notify」からメッセージが届きます。
参考①
上記で使用した以下の詳細は、公式サイトをご確認ください。
●「WinhttpRequestオブジェクト」の「Open」メソッド

●「WinhttpRequestオブジェクト」の「Send」メソッド
参考②
PowerShellでもLINEへメッセージを送信できます。
詳細は以下の記事をご確認ください。

参考③
バッチファイルでもLINEへメッセージを送信できます。
詳細は以下の記事をご確認ください。